Pretty as Paper is dedicated to all the crafty items which bring joy to me and a smile on the faces of people who experience it!

New Arrival - Baby Carriage and a Coordinating Card

Hello Friends ,

Today I have something really cute to share with you. A baby carriage and a coordinating card!
I made this for a friend who were who held a get-together recently to introduce us to their 2 month old son!
Bundle of Joy is the only word I have for that angel.

I decided to gift the parents with a handmade card and a buggy congratulating them on the arrival of their little one. Since it was for a boy, it was not difficult to choose colors. Blue it was to be.


For the card , I chose off white crumpled paper as the background . I topped it with die cuts from Spellbinders and a little angel in the center. I then embellished it with some flowers. I rubbed a small amount of distress ink on the background to give it a vintage look. No sentiment added as I wanted the angel to be the only object of admiration. Once the card opens, we can see a beautiful sentiment , apt for new parents and a Tilda couple with their new baby!. Distressed the edges so that both the sentiment and the image would standout. I also tied a small blue ribbon at the top of the card which made it look even cuter! The front was also embellished with some pearls .


 For the buggy , I took inspiration from Tara's craft studio. Since it is nerve wrecking for me to sit with rulers and pencil , I made my better half draw the blueprint. Then it was cut and folded into a baby carriage. I stuck the pretty blue paper on it and added glitter so that it would look , almost , magical! The interior is decorated with lots of pearls. I also added some pretty fabric lace to the top and inside to give it the "baby soft" look.
Finally , 4 wheels were attached to it to give it the "take-me-for-a-stroll" appearance. I stuffed a tiger in there to go along with the pram and if you see closely , you can see all the pearls peeping from behind him :).


~ Thanks for visiting! Wishing you lovely smiles :)

Challenges : Carfters Corner - Challenge 13

Wall Hanging - 5 photo frames

Hi Friends,

Finally a new project after a considerably long time!

A wall hanging essentially to store fond memories. The best part about the project is that all flowers and other embellishments are hand made! Even the pearl connectors are assembled :). The hues, colors and texture give it a very traditional look - something special for that wall in your home which speaks loads about your family ties!

Can be used as a single table top photo frame also - on your side table , over the fridge , in the glass cabinet.

This is the first time I have used only hand made embellishments :) . I made these flowers with coordinating and contrasting color satin and organza ribbons!. The center flowers are made using a pretty lace with pearly borders. For the flower center I have used wooden buttons and then encircled them with gold glitter. For giving it a touch of sophistication I added the pearls on a wire which was rolled in with ribbons again.  
Pearls always add the required sheen to any decoration. So I added them too.


Click on the images to enlarge.


     And then the final assembly : all together it can be hung for decoration as well as storing photos.


Hope you like this project :) Leave me some comments so I can know your take on this.


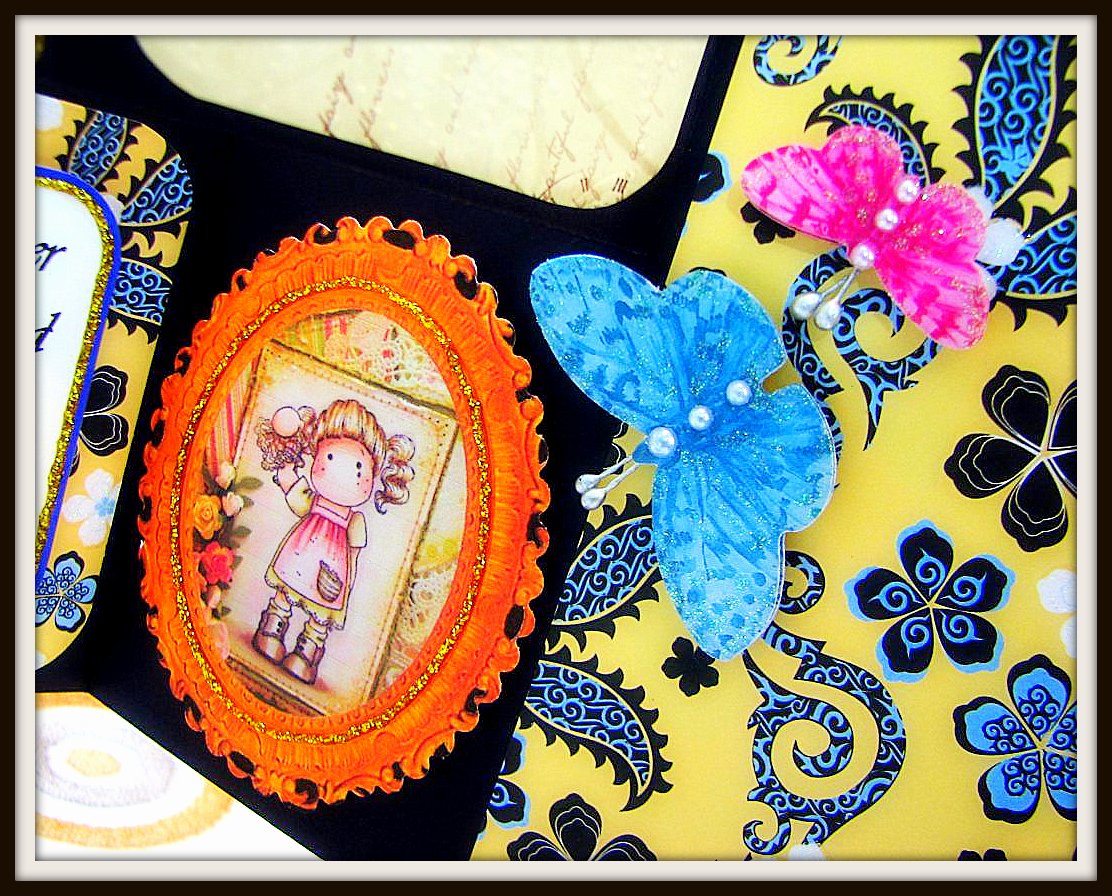
Farewell - Tri Shutter Card

 Hi Friends ,

I made this Tri-Shutter card after being inspired from a lot many other bloggers and going through many tutorials. It is very simple and easy to make and the end result is totally fabulous.
I made it on black back ground and on the front side adorned it with pretty papers, sentiments and embellishments.
On the backside I added empty tags for writing down wishes. It was basically a Farewell card for one of my team mates and she absolutely loved the thought that in today's age of e-greetings some one had actually hand-made her a card!


Hope you all like it!

~ Adding this craft to Crafter's Corner Challenge 11 - Anything Goes Challenge
~ Adding this craft to For the love of Crafting - Challenge # 18 - Expressions

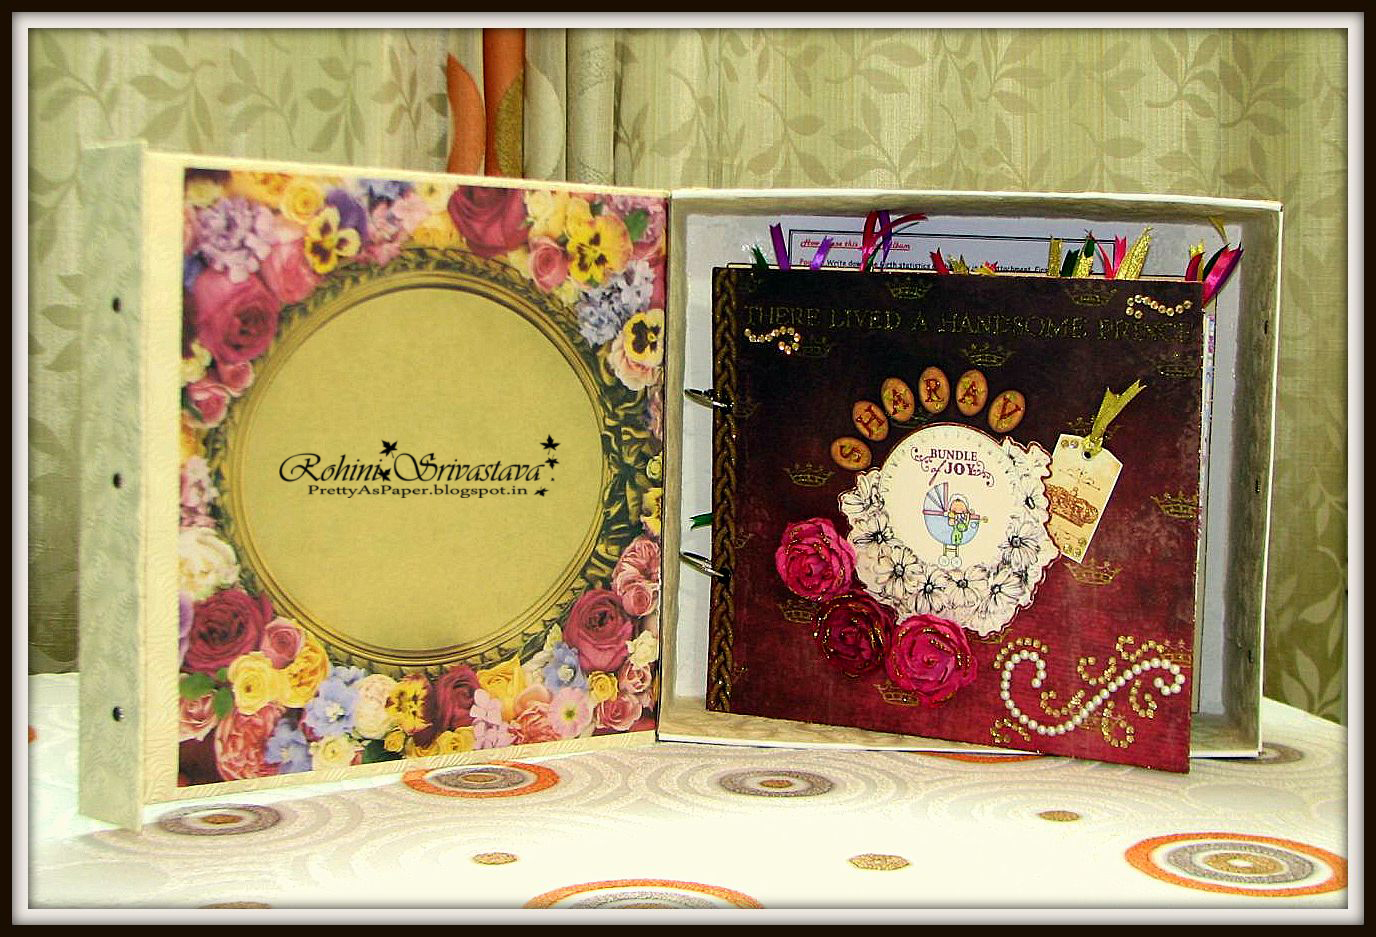
Baby Album - There lived a Handsome Prince !


Hi Friends, I made the First Year Baby Album on order . It was a massive project and my dearest husband completed it gracefully with a custom made gift storage/carry box which has a flip cover with magnetized strips! One of our dearest projects so far :)


Have a look!
 
Page 1: Write down the Birth statistics of the baby in the attachment. First photo of the baby can be placed over the white doily as a background. On the other side the white tags can be used for both: sticking pictures as well as writing notes on both sides.


Page 2: The paper tags can be used for both: sticking pictures as well as writing notes on both sides. On the other side, open the ribbon to get a view of a “pocket of memories” . You can write down any special moments you remember about when the baby was born or was about to be born. Tie the ribbon back to secure the pocket.


Page 3: The paper tags can be used for both: sticking pictures as well as writing notes on both sides. On the other side is the Baby family tree. Small tags have been placed all along the tree (Baby, Mummy, Papa, Dada, Dadi, Nana, Nani etc). You can place stamp size photos of the family members near the tags.


Page 4: This page has a wheel of tags fixed in the centre with a brad such that the tags can rotate. These tags can be used to store pictures of Baby Firsts like smile, crawl, kiss etc. Rotate the tags to reveal the complete space for sticking pictures. The other side is a photo frame which can be used to store a portrait of the baby. The frame is secured from 3 sides: left, right and bottom. It is open from the top and a photo can be sized and slid through it.


Page 5: The paper tags can be used for both: sticking pictures as well as writing notes on both sides. The other side can be used to stick pictures of the baby’s developing smile over the months. The picture tags are covered with month names. Rotate the upper cover (which are fixed with brads) to view space to stick stamp size photos which have been hand cut into circular shapes.


Page 6: This page has a wheel of tags fixed in the centre with a brad such that the tags can rotate. These tags can be used to store pictures of Baby’s participation in his first festivals or functions. Rotate the tags to reveal the complete space for sticking pictures. The other side is a photo frame which can be used to store a portrait of the baby. The frame is secured from 3 sides: left, right and bottom. It is open from the top and a photo can be sized and slid through it.


Page 7: This is the final page of the album which has space to capture baby’s first birthday. On the front side there are balloons which can be used to record the gifts the baby received on his first birthday. The paper tags can be used for both: sticking pictures as well as writing notes on both sides. On the other side is a pocket which can be used to store baby’s portrait. Open the ribbon and then open the golden cover which is basically: 4 semi circles held together by pressing each semi circle under the other on one side. Paste the picture on the base and close the cover as you opened it. Fasten the ribbon to secure the pocket.


 ~~Thanks for visiting :)
Adding this craft to Crafter's Corner Challenge 11 - Anything Goes Challenge

Happy Birthday - Folding Card

Hello Again dear Friends ,

I am here to share with you a folding card which I made for a team mate and friend's wife's Birthday. All he wanted was to surprise her with something handmade and personal - and this is what I made him.


 The card has 4 folds. The first and the last have space to hold personal messages and sentiments like "Happy Birthday" and "You Complete Me".


The inner side has space for 2 sentiments apt for the occasion.


The 2 folds in the middle have frames to hold pictures. They can be slid out and be changed as and when desired.

The folding card is held together with a satin ribbon. Somehow , I am too fond of ribbons and pearls :) They add such grace and softness to any craft!


And again , the customized box. I just don't let my dear husband rest in peace :)

~~ Thanks for visiting