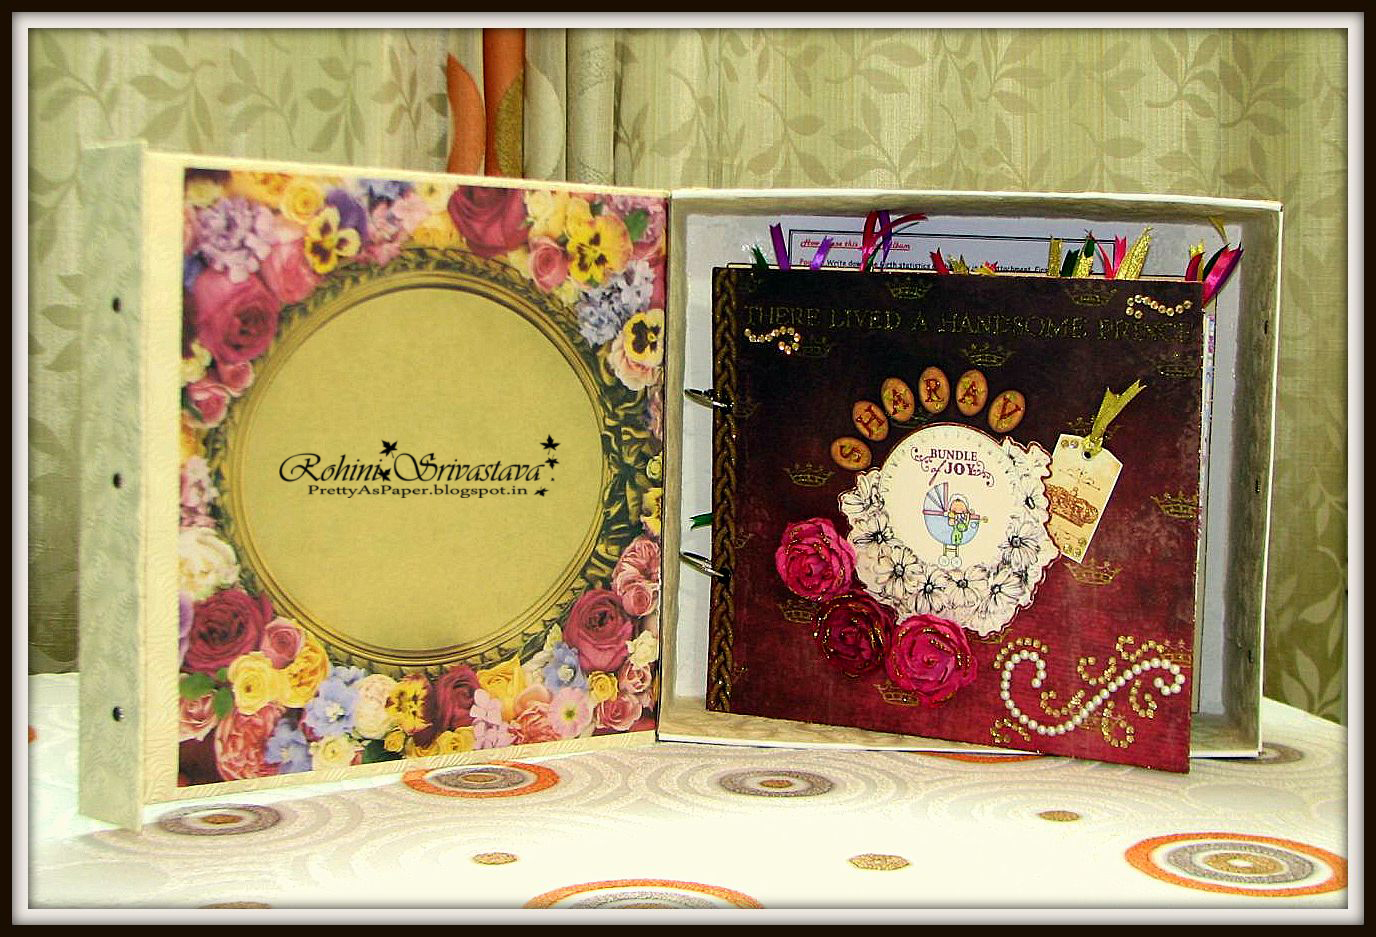
Hi Friends, I made the First Year Baby Album on order . It was a massive project and my dearest husband completed it gracefully with a custom made gift storage/carry box which has a flip cover with magnetized strips! One of our dearest projects so far :)
Have a look!
Page
1: Write down the Birth
statistics of the baby in the attachment. First photo of the baby can be placed
over the white doily as a background. On the other side the white tags can be
used for both: sticking pictures as well as writing notes on both sides.
Page
2: The paper tags can be
used for both: sticking pictures as well as writing notes on both sides. On the
other side, open the ribbon to get a view of a “pocket of memories” . You can
write down any special moments you remember about when the baby was born or was
about to be born. Tie the ribbon back to secure the pocket.
Page
3: The paper tags can be
used for both: sticking pictures as well as writing notes on both sides. On the
other side is the Baby family tree. Small tags have been placed all along the
tree (Baby, Mummy, Papa, Dada, Dadi, Nana, Nani etc). You can place stamp size
photos of the family members near the tags.
Page
4: This page has a wheel
of tags fixed in the centre with a brad such that the tags can rotate. These
tags can be used to store pictures of Baby Firsts like smile, crawl, kiss etc.
Rotate the tags to reveal the complete space for sticking pictures. The other
side is a photo frame which can be used to store a portrait of the baby. The
frame is secured from 3 sides: left, right and bottom. It is open from the top
and a photo can be sized and slid through it.
Page
5: The paper tags can be
used for both: sticking pictures as well as writing notes on both sides. The
other side can be used to stick pictures of the baby’s developing smile over
the months. The picture tags are covered with month names. Rotate the upper
cover (which are fixed with brads) to view space to stick stamp size photos
which have been hand cut into circular shapes.
Page
6: This page has a wheel
of tags fixed in the centre with a brad such that the tags can rotate. These
tags can be used to store pictures of Baby’s participation in his first
festivals or functions. Rotate the tags to reveal the complete space for
sticking pictures. The other side is a photo frame which can be used to store a
portrait of the baby. The frame is secured from 3 sides: left, right and
bottom. It is open from the top and a photo can be sized and slid through it.

Page
7: This is the final page
of the album which has space to capture baby’s first birthday. On the front
side there are balloons which can be used to record the gifts the baby received
on his first birthday. The paper tags can be used for both: sticking pictures
as well as writing notes on both sides. On the other side is a pocket which can
be used to store baby’s portrait. Open the ribbon and then open the golden
cover which is basically: 4 semi circles held together by pressing each semi
circle under the other on one side. Paste the picture on the base and close the
cover as you opened it. Fasten the ribbon to secure the pocket.